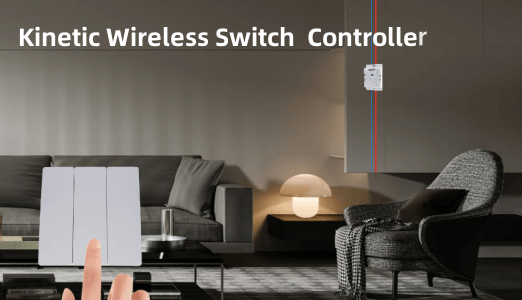
Don't worry, you don't always need to call an electrician to install a smart wall switch. If you have a little more time on your hands, it's entirely possible to do it yourself. Depending on your home's electrical situation, the process of installing a smart light switch can be a little tricky, but most people with DIY skills are up to the task. If you're ready to complete this project over the weekend, you'll definitely want to check out this installation guide, which will make installing your new smart light switch as easy as possible.
Step 1: Understand your existing wall switch setup.
Before you buy a smart light wall switch, you need to figure out what type of switch you need. If there is only one switch on the wall panel, you will need a single slot switch. If there are two switches (perhaps one for lights and one for ceiling fans), you will need a two-wall smart light switch. If there are three switches, you will need a triple electric outlet switch. In addition to this, you need to know whether the switch you need is single or zero firewire, and determine this basic information before proceeding to the following steps to avoid wasted efforts.
Step 2: Getting started with your wire type.
Turn off the power at the fuse box to avoid the risk of electric shock or electrocution. If you're not sure which circuit the light belongs to, it's not a bad idea to grab a voltmeter (if you don't already have one). If you have a non-contact voltage tester, you won't have to mess with leads and wires.
Step 3: Turn on the existing switch where the Smart Wall Switch is to be installed.
To turn on the previous switch, unscrew the screws on the siding (usually located at the top and bottom of the siding). Use a butter knife or flathead screwdriver to pry the siding off the wall, as the siding may stick in place (usually because of the paint). Then unscrew the screws on the light switch and gently pull the switch forward.
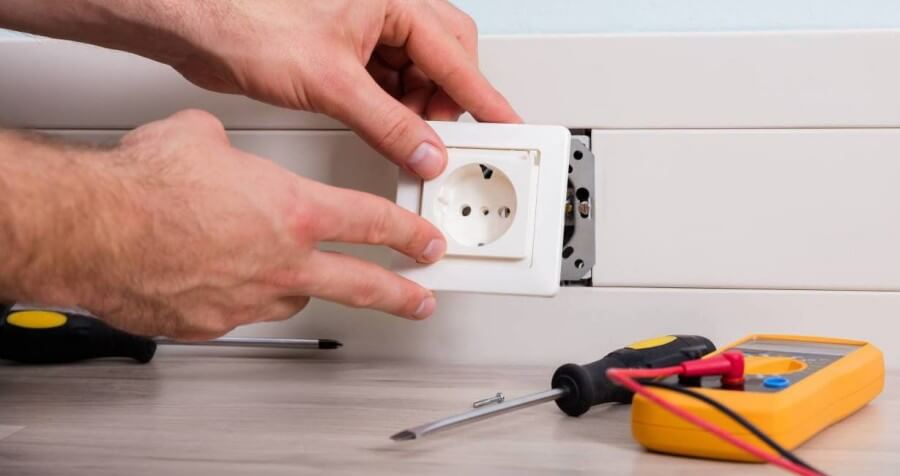
Step 4: Check the wiring settings.
Most smart light switches require a ground wire, an "in" wire, an "out" wire and a neutral wire. Most homes have an "in" wire, an "out" wire and a ground wire, but some homes built before the 1980s do not have a neutral wire. Usually, the neutral wire is a white wire (or set of white wires). Without a neutral wire, you can still install many smart light switches, but you will need to purchase a specific type of smart light switch that does not require a neutral wire.
Step 5: Choose a smart light switch
After familiarizing yourself with the wiring setup, choose the smart light switch that suits your situation. When using a dual electric light switch, you may encounter alignment and other special circumstances. Therefore, the instructions that follow will assume the use of a single-slot smart light switch with a neutral wire, such as DFM's smart light switch.
Step 6: Remove the old light switch.
Again, make sure the circuit breaker is powered off. Disconnect the old light switch completely by disconnecting each wire one at a time. Make a note of which wire is which as you disconnect it so you don't get confused later. If there are no markings, you can label them with different colored electrical tape.
Step 7: Connect the wires from the smart light switch to the wires in the wall.
Connect the incoming wire to the incoming wire, the outgoing wire to the outgoing wire, the ground wire to the ground wire, and the neutral wire to the neutral wire. Secure the connections with wire connectors, making sure there aren't any loose or exposed wires in the electrical box. (Keep in mind that the ground wire may be bare.) Depending on your wiring, you may need to use a wire stripper to properly wire the new switch.
Step 8: Turn on the power and test the wires you just connected.
If the switch works properly, you can move on to the next step. If the switch does not turn on, you will need to recheck the connections.
Step 9: Turn off the power to the breaker box and make sure the smart light switch is secured.
Turn off the power to the breaker box again, then organize the wire connectors and place them in the wall box. Be aware that it may be tight, so it may be difficult to get all the wires into the box. While it's tempting to tuck them in, we recommend slowing down and placing them neatly into the box. This will help prevent loose connections and fires. Sometimes you can bind the wires with electrical tape.
Step 10: Screw the smart light switch into place.
Turn on the power to the breaker box and check that all connections are stable. If all connections are made, screw on the wall plate and begin setting up the app.
Step 11: Connect the Smart Light Switch to a specific network.
To do this, you will first need to download the Smart Lights app and connect to a Wi-Fi network. Once that's done, give the switch a name you like and connect it to Tuya or Google Home so you can use the voice control feature.

 CN
CN



 Home
Home DFM
DFM  Sep 04,2023
 Move light switch without rewiring
 Aug 15,2023

